If you’ve ever found yourself staring at a frozen cobbler, wondering whether you can bake it straight from the freezer, you’re in the right place! The answer is yes, you can absolutely bake a frozen cobbler—and it’s actually one of the easiest desserts to prepare when you’re short on time but still craving something warm, fruity, and comforting.
In this guide, I’ll walk you through everything you need to know about baking a frozen cobbler, including the best baking methods, how to ensure a golden, crispy topping, and tips for getting the most delicious results every time. Whether you’re working with a store-bought cobbler or a homemade one you froze for later, I’ve got you covered!
Why You’ll Love Baking Frozen Cobbler
Baking a frozen cobbler comes with plenty of perks! Here’s why it’s a go-to dessert option:
- Convenient and time-saving – No need to thaw or prepare anything from scratch. Just pop it in the oven!
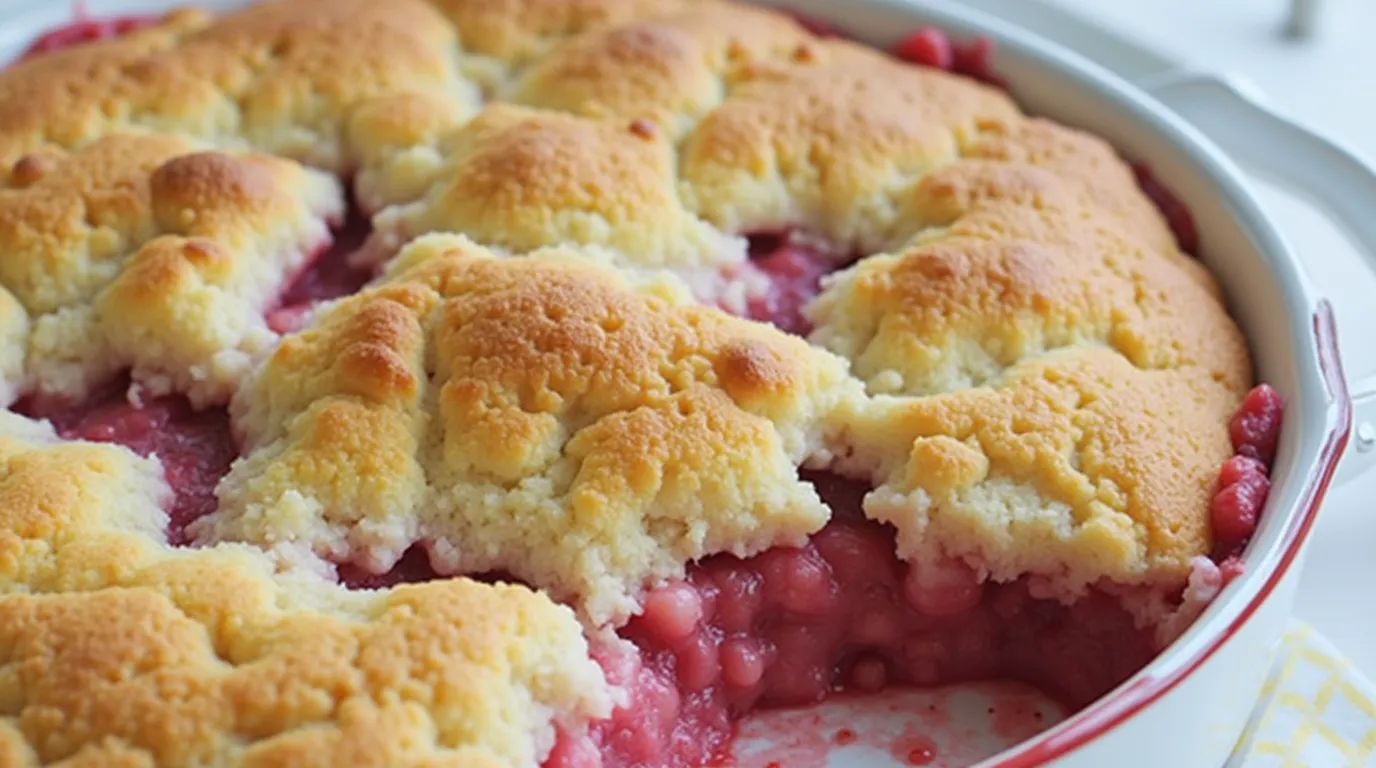
- Deliciously warm and comforting – There’s nothing like a bubbling fruit filling and a golden-brown topping straight out of the oven.
- Perfect for last-minute desserts – Guests coming over? Just bake and serve with ice cream!
- Works for store-bought or homemade cobbler – Whether you froze a batch yourself or picked one up from the grocery store, the baking process is simple.
Now, let’s dive into the details of how to bake a frozen cobbler the right way.
How to Bake Frozen Cobbler
The key to baking a frozen cobbler successfully is knowing the right oven temperature and baking time. Here’s a step-by-step guide to ensure a perfect bake every time.
1. Preheat Your Oven
Set your oven to 375°F (190°C). This temperature is ideal for baking frozen cobblers because it allows the fruit filling to become hot and bubbly while giving the topping enough time to crisp up.
2. Place the Frozen Cobbler on a Baking Sheet
For store-bought frozen cobblers, check if the packaging is oven-safe. If not, transfer the cobbler to a baking dish. If your cobbler is homemade and already in a freezer-safe dish, you’re good to go!
Pro tip: Placing a baking sheet underneath the cobbler prevents any fruit juices from spilling over and making a mess in your oven.
3. Bake Straight from Frozen
There’s no need to thaw the cobbler before baking! Just place it in the preheated oven and bake for 50-60 minutes or until:
- The fruit filling is bubbling around the edges.
- The topping is golden brown and crispy.
If the top is browning too quickly, loosely cover it with aluminum foil during the last 15 minutes of baking to prevent burning.
4. Check for Doneness
To ensure your cobbler is fully baked, insert a knife or skewer into the center. If the filling is hot and thick (not watery), and the topping is crisp, it’s ready!
5. Let It Cool Slightly Before Serving
Once out of the oven, let your cobbler sit for 10-15 minutes before serving. This allows the filling to thicken slightly, making each bite even more delicious.
Can You Bake a Frozen Cobbler in a Different Way?
While the oven method is the best way to get a perfectly baked cobbler, there are a few other options:
Air Fryer Method
If you have a smaller, individual-sized frozen cobbler, you can bake it in an air fryer.
- Preheat the air fryer to 350°F (175°C).
- Place the cobbler in the basket and bake for 20-30 minutes, checking frequently to ensure even cooking.
Slow Cooker Method
For a hands-off approach, you can bake a frozen cobbler in a slow cooker:
- Place the frozen cobbler in the slow cooker.
- Cook on high for 3-4 hours or until the filling is bubbly.
While this method works, the topping may not get as crispy as it would in the oven.
What to Serve with Your Baked Cobbler
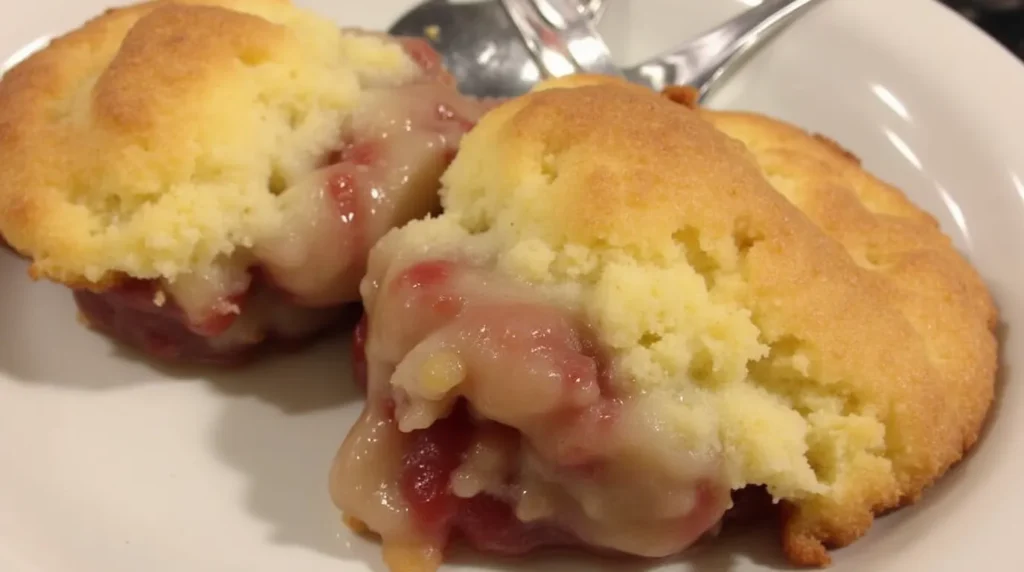
A freshly baked cobbler is fantastic on its own, but pairing it with the right toppings can take it to the next level! Here are some delicious serving ideas:
- Vanilla ice cream – The classic pairing that melts into the warm fruit filling.
- Whipped cream – Light, fluffy, and adds the perfect touch of sweetness.
- Powdered sugar – A light dusting enhances the presentation and adds a hint of sweetness.
- Caramel drizzle – Perfect for apple or peach cobbler lovers.
- Chopped nuts – Adds a bit of crunch and texture to the dish.
Tips for the Best Baked Frozen Cobbler
Want to make sure your frozen cobbler turns out perfect every time? Keep these tips in mind:
✔ Use a baking dish that retains heat well – A glass or ceramic dish helps distribute heat evenly, ensuring the cobbler bakes properly.
✔ Don’t thaw before baking – Baking from frozen helps maintain the structure of the cobbler and prevents a soggy topping.
✔ Adjust baking time if needed – If your cobbler is larger or deeper, it may require extra baking time. Always check for bubbling filling and a golden topping before removing it from the oven.
✔ Let it rest before serving – This prevents the fruit filling from being too runny when you scoop it out.
Storage and Leftovers
If you have leftovers, store them properly to keep your cobbler fresh:
- Refrigerator – Store in an airtight container for up to 4 days. Reheat in the oven at 350°F (175°C) for 10-15 minutes.
- Freezer – You can refreeze baked cobbler, but the topping may lose some crispiness. Wrap it tightly and store for up to 3 months.
FAQs About Baking Frozen Cobbler
1. Do you have to thaw frozen cobbler before baking?
No, it’s best to bake it straight from frozen. Thawing can make the topping soggy.
2. Can I bake a frozen cobbler in a convection oven?
Yes! Reduce the temperature to 350°F (175°C) and check for doneness around 45-50 minutes.
3. How do I prevent my cobbler from getting too watery?
Make sure to bake it long enough for the fruit filling to thicken. Letting it rest for 10-15 minutes after baking also helps.
4. Can I microwave a frozen cobbler?
Microwaving is not recommended because it won’t give you a crispy topping. The oven is the best method.
Final Thoughts
Baking a frozen cobbler is one of the easiest ways to enjoy a warm, homemade-style dessert without the hassle of making it from scratch. Whether you’re using a store-bought version or a homemade frozen cobbler, simply pop it in the oven, bake until bubbly and golden, and serve with your favorite toppings. It’s the perfect last-minute treat that always impresses!